Homemade Peppermint Patties: Easier & Better Than York!
If you're a connoisseur of the cool, minty embrace of a classic peppermint patty, prepare for a revelation. While York Peppermint Patties hold a nostalgic place in many hearts, the truth is, a homemade peppermint patty isn't just a "copycat" – it's an undeniable upgrade. Forget everything you thought you knew about candy making being complex; these delightful treats are surprisingly simple to create, delivering an unparalleled flavor and texture that will make you a convert for life.
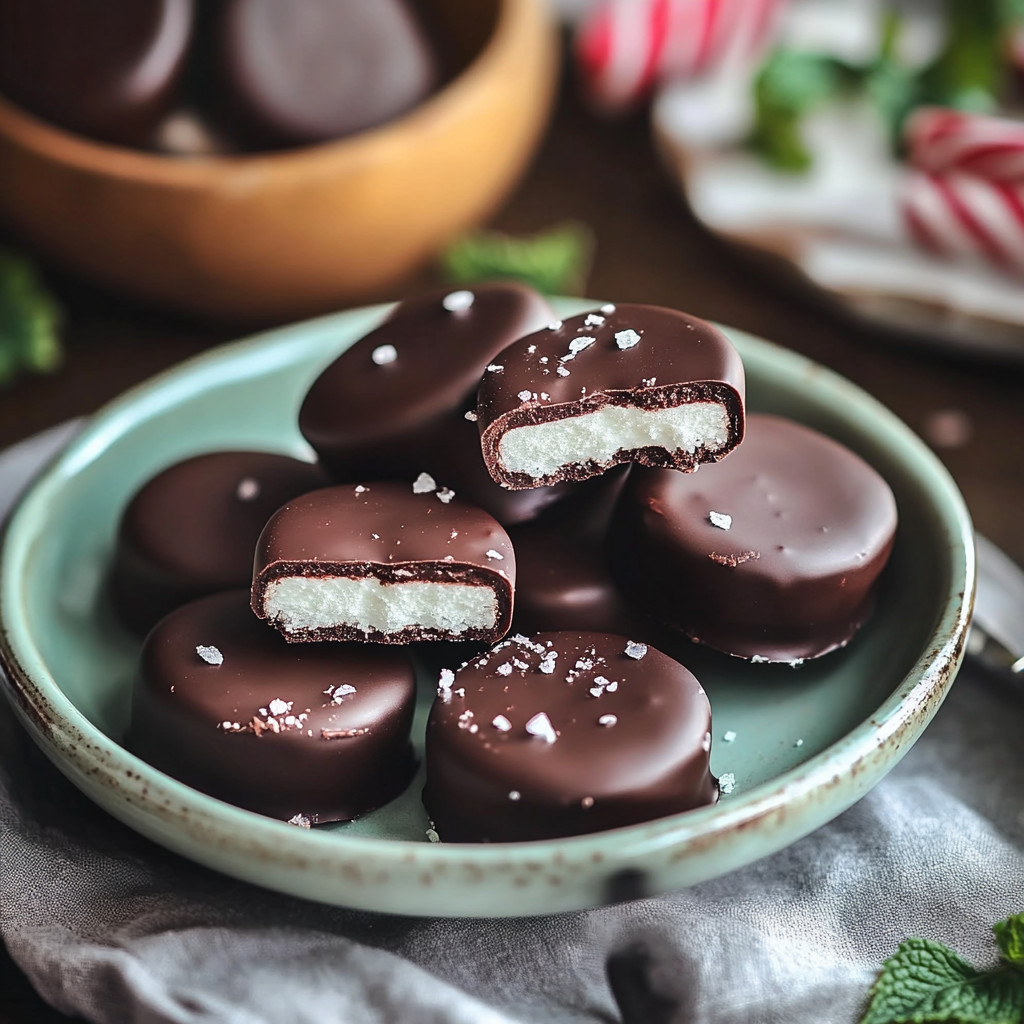
The journey to crafting your own perfect mint chocolate candy begins with a simple promise: ease. Even if you've never ventured into the world of confectionery, this no-bake recipe is incredibly forgiving and yields professional-looking results. The satisfaction of biting into a perfectly snappy chocolate shell that gives way to a luxuriously soft, intensely minty center is an experience that store-bought versions simply can't replicate. It’s fresh, it’s vibrant, and it’s perfectly tailored to your taste – the ultimate reason why a homemade peppermint patty reigns supreme.
Unlocking the Secret to Superior Homemade Peppermint Patties
The magic of a truly exceptional peppermint patty lies in the delicate balance of its two core components: the creamy, invigorating mint filling and the rich, crisp chocolate coating. Achieving this harmony is far simpler than you might imagine, and it starts with understanding the subtle nuances that elevate homemade from good to extraordinary. We’re talking about a center that’s soft, not sticky, and a chocolate shell that shatters beautifully, offering a delightful textural contrast.
One of the most crucial elements for your homemade peppermint patty filling is the choice of extract. Always opt for peppermint extract, not simply "mint extract." Peppermint delivers that pure, bright, and cooling sensation we crave, whereas general mint extract can sometimes lean towards a spearmint flavor, which isn't quite the same experience. The base of your filling is typically powdered sugar, which provides the essential sweetness and structure. Achieving that ideal soft, melt-in-your-mouth consistency, however, often comes down to a careful balance. If your filling feels too sticky, a small adjustment with a little extra powdered sugar can work wonders, transforming it into a pliable, smooth dough that’s a joy to work with.
For more detailed insights on perfecting that creamy center, you might find valuable tips in Perfect Peppermint Patties: Expert Tips for Creamy Centers.
Crafting the Irresistible Peppermint Core: Tips for Perfection
Once you have your perfectly textured filling, shaping it into uniform discs is the next step towards those professional-looking patties. Here are some tried-and-true tricks to ensure your peppermint centers are flawless:
- Parchment Paper is Your Best Friend: To prevent the filling from sticking to your rolling pin and countertop, roll it out between two sheets of parchment paper. This not only keeps things clean but also helps achieve an even thickness.
- Ideal Thickness Matters: Aim for discs that are no thinner than ½ inch. This thickness provides a satisfying bite and makes the subsequent dipping process much easier, preventing the patties from breaking or losing their shape. Use a small cookie cutter for perfect circles, or a sharp knife for squares if you prefer a modern twist.
- Chilling is Key: Before even thinking about dipping, chill your peppermint discs thoroughly. This firming-up period is critical. Cold patties hold their shape impeccably when introduced to warm chocolate, minimizing mess and maximizing a smooth, clean finish. A good 15-30 minutes in the refrigerator (or even the freezer for a quick chill) will make a huge difference.
Mastering the Chocolate Shell: Dipping for Presentation
The chocolate coating is more than just a protective layer; it's an integral part of the flavor and texture profile of your homemade peppermint patty. Whether you prefer the rich intensity of dark chocolate, the balanced sweetness of semi-sweet, or the creamy comfort of milk chocolate, the choice is entirely yours. This is one of the joys of homemade – complete customization!
When it comes to dipping, technique matters for that professional, glossy look:
- Melt Your Chocolate Carefully: Use a double boiler or microwave in short bursts, stirring frequently, to melt your chocolate smoothly. Avoid overheating, which can cause the chocolate to seize or burn. Adding a teaspoon of coconut oil or shortening can help create a smoother, more fluid consistency for dipping.
- The Right Tools: A simple fork or a dedicated candy dipping tool is essential. Gently lower a chilled peppermint disc into the melted chocolate, ensuring it's fully submerged. Lift it out, allowing excess chocolate to drip off.
- The Gentle Tap: This is a pro trick! Lightly tap the fork or dipping tool against the edge of your chocolate bowl. This helps remove any lingering excess chocolate, preventing puddles and creating a cleaner, more polished finish on your patty.
- Setting the Chocolate: Place your freshly dipped patties onto a sheet of parchment paper or a silicone mat to set. For a quicker set, you can carefully transfer them to the refrigerator. Once firm, they are ready to be enjoyed or stored.
Beyond the Basics: Creative Twists and Gifting Ideas
The beauty of making homemade peppermint patties is the endless opportunity for personalization. While the classic mint and chocolate combination is a winner, don't hesitate to experiment:
- Chocolate Varieties: Explore white chocolate for a different aesthetic and flavor profile. You could even drizzle white chocolate over dark chocolate patties for a sophisticated swirl.
- Toppings: A sprinkle of sea salt immediately after dipping adds a gourmet touch and enhances the chocolate's flavor. Crushed candy canes during the holidays, or a dusting of edible glitter, can elevate the visual appeal.
- Extract Experiments: While peppermint is classic, consider a touch of almond extract in the filling for an amaretto-peppermint twist, or even a hint of espresso powder in the chocolate for a mocha-mint delight.
These patties also make for exquisite gifts. Arrange them in decorative boxes, elegant cellophane bags tied with ribbon, or layered in festive tins. They’re perfect for holiday hampers, hostess gifts, or a thoughtful treat for friends and family. Imagine the delight on someone's face receiving a batch of these homemade treasures!
Why Homemade Peppermint Patties Reign Supreme
Once you’ve experienced the joy and deliciousness of your own homemade peppermint patties, you’ll likely find it hard to go back to the mass-produced versions. The freshness of the ingredients, the ability to control the sweetness and mint intensity, and the sheer satisfaction of creating something so delectable from scratch are unparalleled. Plus, the ease of this no-bake recipe makes it accessible for anyone, including first-time candy makers looking for a rewarding culinary project. If you're new to this, fear not, because these are among the simplest and most gratifying candies to master. Learn more about simple recipes for beginners in No-Bake Peppermint Patties: Easy Recipe for First-Time Candy Makers.
One of our favorite ways to enjoy these patties is straight from the freezer! The chocolate becomes wonderfully snappy, while the peppermint center retains its delightful softness, creating an incredible textural contrast that’s simply addictive. Keep a bag stashed away for an instant, refreshing treat whenever the craving strikes.
Conclusion
Making homemade peppermint patties is more than just a recipe; it's an experience that delivers incredible flavor, empowers your inner candymaker, and guarantees pure delight with every bite. From the creamy, vibrant peppermint core to the perfectly crisp chocolate shell, these treats are a testament to how easy and rewarding homemade confections can be. So, ditch the store-bought versions and embark on your own peppermint patty adventure – your taste buds, and anyone you share them with, will thank you!
